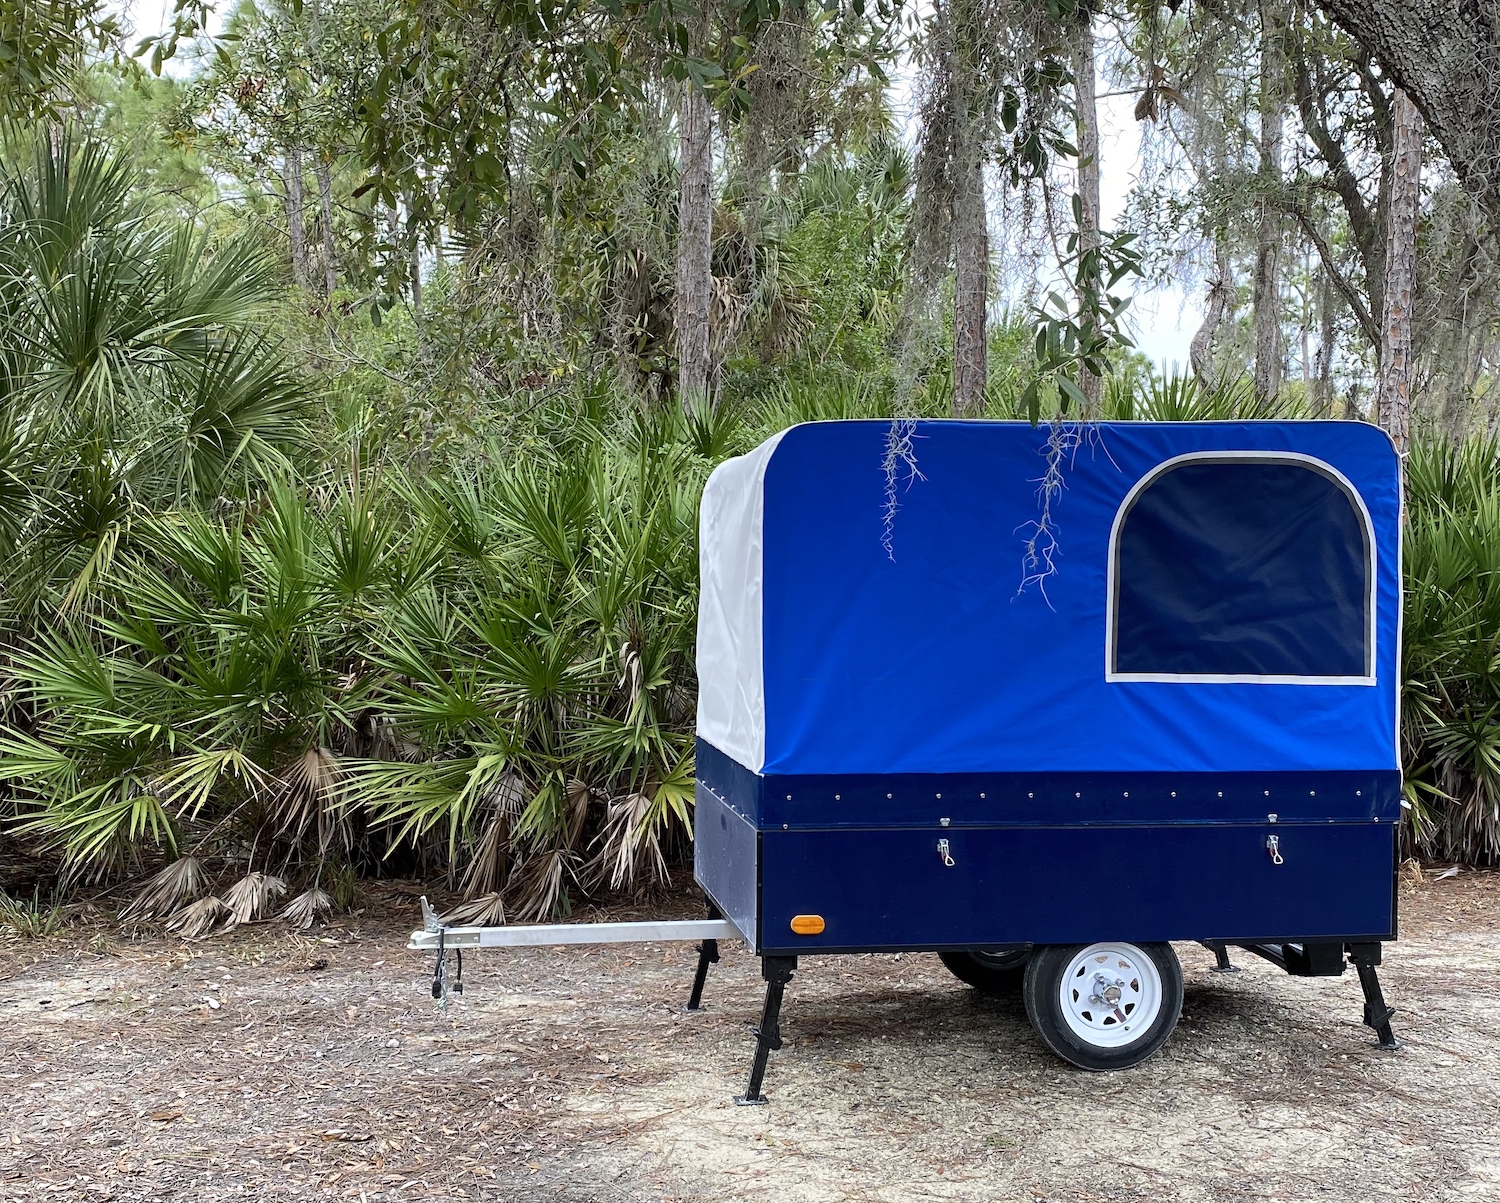
2.6 K2 tent camper prototype lessons learned

There were a lot of things I liked this tent camper prototype, but it STILL did not meet my vision for a super light, fully functional camper.
Among the pros: It hit all the marks for set up speed, cargo access and bed storage.
The cons: The 82 x 48 footprint just took up too much room in the garage and it still weighed more than I wanted. Plus, unless I went to the trouble of putting up the Poopatorium, it still lacked the inside standing and sitting area.
I learned a lot of lessons building this camper. I did some things here I hadn’t tried before. A few worked, others did not.
Things that worked:
Sewing turned out to be easier than I had expected, and actually pretty fun. It’s rewarding to see a heap of cut pieces come together into a finished product. And as I noted, this would give me the complete freedom to pursue any design idea.
PVC bending was another good get. This is a perfectly adequate tent framework material for small tent campers and it is really easy to bend. There are several good how-to videos on YouTube.
Among the things I wouldn’t do again:
Round windows (on the hard sided camper). I thought it was cool idea to make the windows round in the first prototype. They did look cool, but then I had to figure out how to screen them and how to weatherproof them. I chewed up a lot of time experimenting with different things, none of which really worked.
Fabric covered surfaces. The blue sides on the hard wall camper consisted of 1/2″ light plywood covered with Odyssey fabric; the same material I use for the soft tent sidewalls. I thought I was being smart, shortcutting the finishing process by covering the plywood instead of trying to finish it. This was another major time suck with a special battle waged in applying rubber cement to the plywood, laying down the fabric, then getting all the air bubbles out. And every spec and blemish on the wood showed through the continuous tone surface.
Adhesive backed hook-and-loop. So there are a couple of different kinds of adhesive used on hook-and-loop (H&L) and not all of them stand up to heat and humidity. As I have learned. IF you use adhesive backed H&L, make sure it’s rated for exterior use. And use a good brand. Otherwise, over time, the adhesive will begin to run and the H&L strips you’ve put in place will begin to pull away or slide. After this, I decided that on any occasion where H&L was needed, it would be the sew-on variety.
Painted exterior. I will never again finish a camper exterior with paint. At least, not in southwest Florida. It just takes so long to dry and even longer to cure. Even after a month I could leave a thumbprint on a painted surface if I wasn’t careful.
Does it seem like most of my challenges have to do with finish work? I think so. The structural aspects of camper building began to get easier with each build, but I consistently struggled with how to add the finishing touches to the camper to make it look like.
However, as they say, you learn more from your mistakes than your successes. I had two decent, usable prototypes that still didn’t quite measure up. But with what I’d learned from these, I finally began to see my way to a design that would do everything I wanted and that would look good doing it.
Questions?
For more information about this camper you can contact me through this page.
My business is selling motorcycle campers and trailers and the gear you need to tow them with a motorcycle or trike. I run two sites: Open Road Outfitters and US Hitch.


