Kampereen K3 Build 2
I started the Kampereen build 2 project in late January after making a lot of notes about build 1. I didn’t plan to change anything about the design, but I did plan to go about the build differently.

I started by updating my sketches with measurements taken from my first build. 
I got all the materials together I would need to keep the workflow going once I got started. 
This time I made the tent first, so when the box was done, I would have the tent ready to go. 
Quality inspection agent Sage on the job. 
Site security by Lacey. 
One window done, four to go. 
I learned how to do these by watching YouTube videos from Sailrite. 
I waited to get the plywood until I was ready to start the box build and cut the pieces to size right away. I build these in my garage, so space is limited. 
Checking the placement and size of the wheel well cuts on the base. 
The cargo box is starting to take shape. 
Even though the plywood is marine rated, I still like to seal it, especially the edges. This sealer/primer also improves the adhesion of the vinyl wrap. 
On wheels for the first time! 
Checking the alignment of all the box components. 
In this step, I’m making the telescoping tent support bows. 
External lid and entry bows are done. 
Now it’s starting to look like a camper 
Another angle of the same build stage. 
When I get to the vinyl wrap, I feel like I’m entering the home stretch. 
I like wrap with camo patterns because it neatly disguises any surface imperfections, and it looks cool, too. 
Time for lights! 
Now for carpet! 
At this point, everything is done but installing the tent and completing the final trimout. 
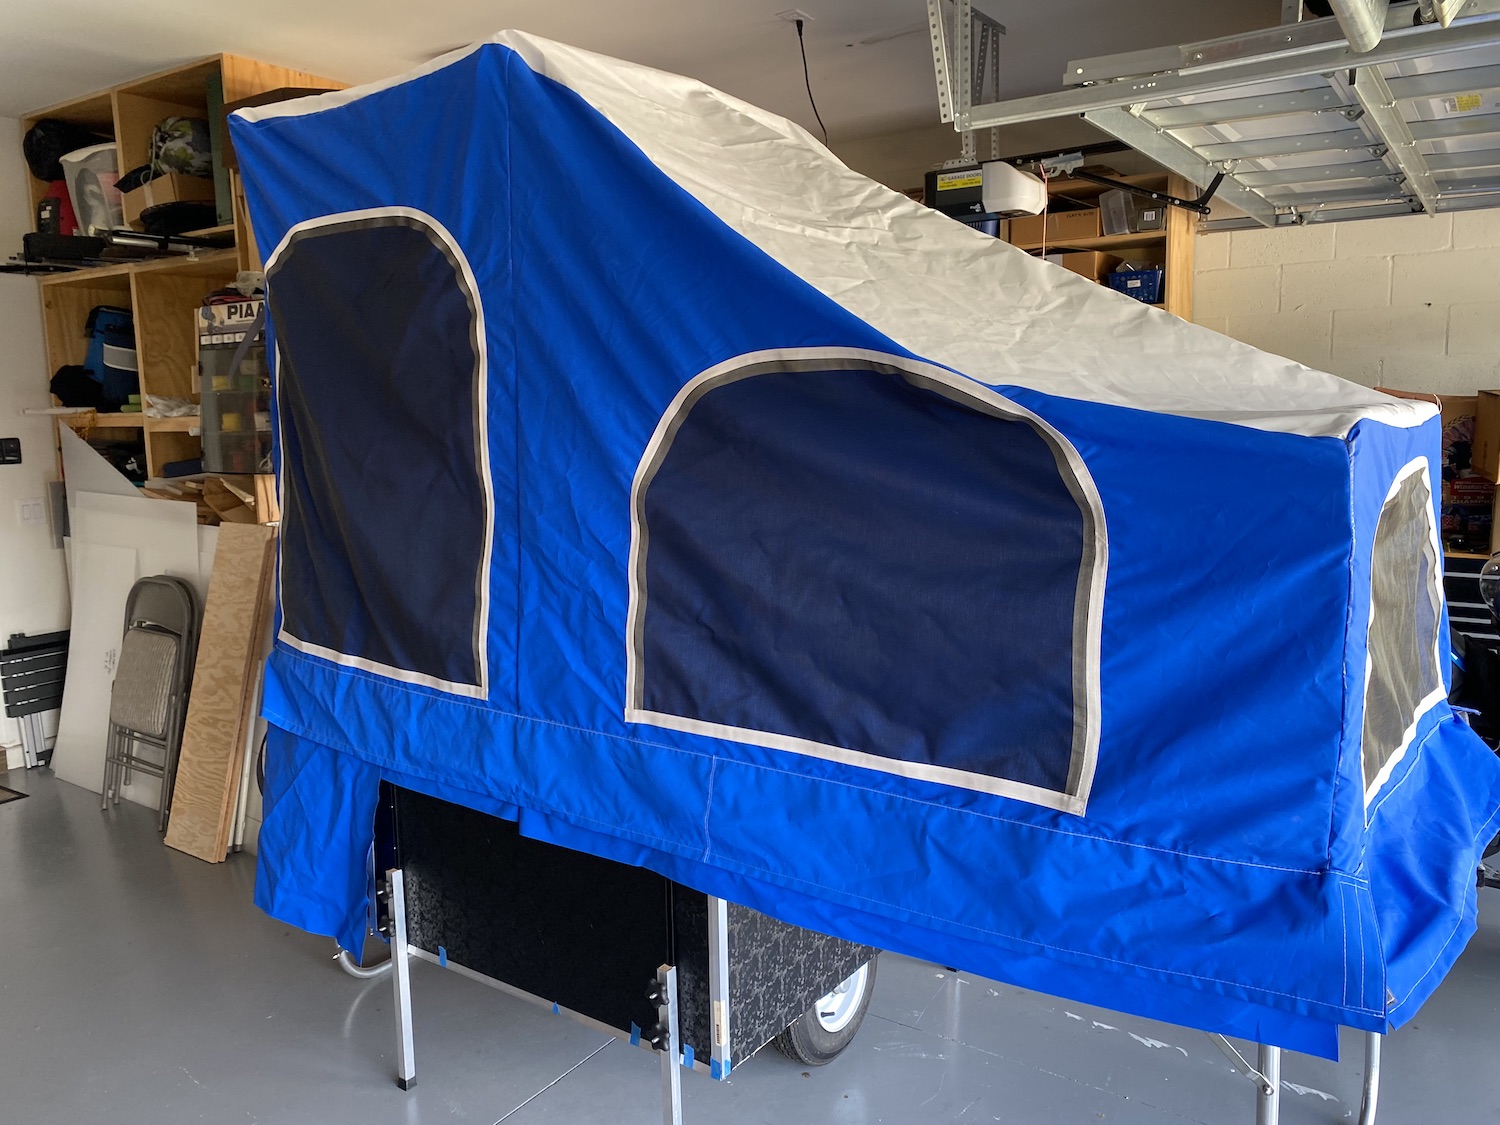
Tent on for its second fitting. I put it on earlier and marked just two spots that needed a little longer seam. 
The fit looks pretty good. It is now ready to be attached. 
I use short pieces of trim to help fit the tent to the frame, then to hold it while I staple it. These pieces will be replaced by full length trim. 
Staples are just an interim step to hold the tent. The real holding power comes from the full length trim that traps the tent material against the carpet, providing a continuous seal around the perimeter of the tent. 
I put the full trim on temporarily so I can mark the tent and trim off the excess. 
Inside with the tent sealed and the bed installed. 
Conducting my “chair test” to insure there’s enough room to sit inside!
The first thing I did was to go through the bill of materials and order everything on the list that was going to come from anywhere other than local stores. So axles, tubing, tent material, I got all of that while I left the plywood, carpet, and other locally sourced things for later.
Another other thing I did differently was to start by making the tent. When I finished the first camper box, I then had to put everything on hold to go make the tent. I was so anxious to finish it that there were a few parts toward the end that might have turned out better if I hadn’t been in a hurry. So this time I decided to start with the tent and when the camper box was done, I would be ready to throw the tent on and wrap it up quickly.
Finally, I used templates and jigs that I made to help me improve the consistency of the build. It made it a lot quicker, too. I didn’t do anything fancy, I just used a lot of scrap plywood that I cut on the table saw to consistent sizes so I could lay out cuts and make them with the circular saw.
I found a few things I want to do differently on the next build, but they really just have to do with small adjustments to the layout of components. For example, I placed the T-tracks about a half inch too close to the lights on the rear to accommodate the trim rings for the lights.
I want to continue to tweak the bed mechanism to make it easier to set up. It’s not hard now, but you have to use two hands to make it lift evenly on both sides. I want to find a way to make that a one-handed operation.
Another tweak is to find a way to increase the width of the wheelbase. In its current interation, the inside-to-inside wheel width is about 22”. I’d like to get that to 26” if I could. I’ll need to experiment with the base layout and the size of the cutout for the wheel to figure this out.
But before I do any of that, I need to finish this one out and find a new home for it. I just need to install the trim, latches and gasket, then finish the wiring harness and attach the tongue. I’ll take it out for a test tow and give the tent a water test, and it’ll be ready to seek new adventures!
looks awesome and I really like your dedication. Where did you find your tent poles/bows?
I made those using a JDSquared tube bender. Before I had that, I found that 3/4″ PVC components fit nicely over 1″ aluminum tube. So for a while I used PVC elbows for the 90-degree angles. I drilled and riveted them to the aluminum tubing. That actually worked pretty well for interior poles. When I started working on a design that required exterior support bows, I didn’t want to rely on PVC joints. I wanted actual bent tubing. So that’s when I sprung for the tube bender. The telescoping aluminum tubing comes from texastowers.com
Dale, awesome job on this. Would love to see one in person sometime if possible. I’m in GA and willing to travel.
Thanks for the update on this build. I would love to build one too.
Sammy
Sammy, you can feel free to come by any time. I have one you can borrow if you want to take one out some time and try it out.